Introduction
This resource illustrates two main processes:
- How to add a zipped html package to a unit/module in Brightspace; and
- How to create a link to that package (which can be opened in a new window)
Html5 packages are becoming an increasingly important element of material delivery in learning environments like Brightspace. HTML5 is multi-platform, mobile-friendly and responsive to screen size.
There are many commercial tools for creating HTML5 - at UHI we have our own: Forge.
Visit Forge where you can create projects and view guidance materials.

Downloading HTML5 from Forge
When you have created a project in Forge there are two options for downloading it:
As an HTML5 package
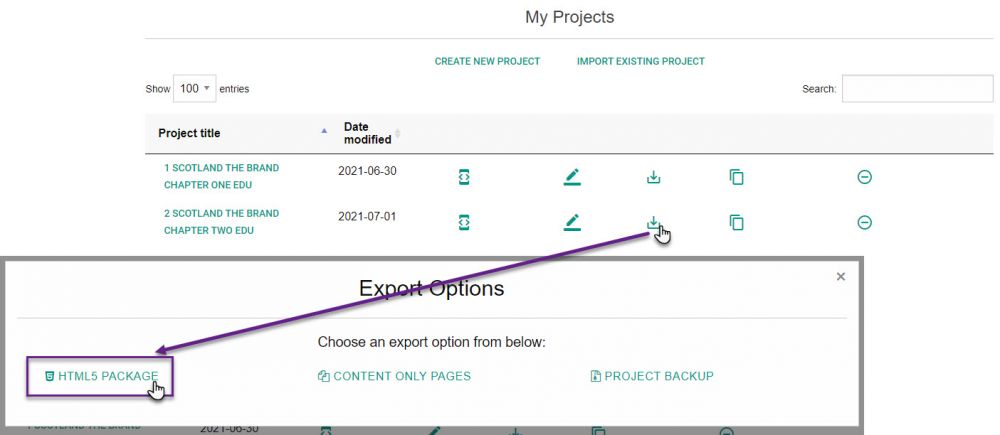
As the picture opposite shows, to download a Forge project as an HTML5 resource - from the My Projects area of the Forge dashboard, select Download as HTML5 package.
This will give you a zipped folder containing your resource, with a single index file.
As Content only [Brightspace] pages
To download a Forge project in the form of individual pages - from the My Projects area of the Forge dashboard, select Content only pages from the Export Options menu.
This will give you a zipped folder containing a .html file for each page in your project.

Choosing the second option, within Brightspace you will have to create links to each page individually, and students will not have access to the left-had menu. There are scenarios where this could be helpful but on the whole, having a single entry point makes things much easier for you, and for your students.
Adding a zipped html package to a unit/module in Brightspace
To add a zipped html package to a unit/module in Brightspace, follow these steps:
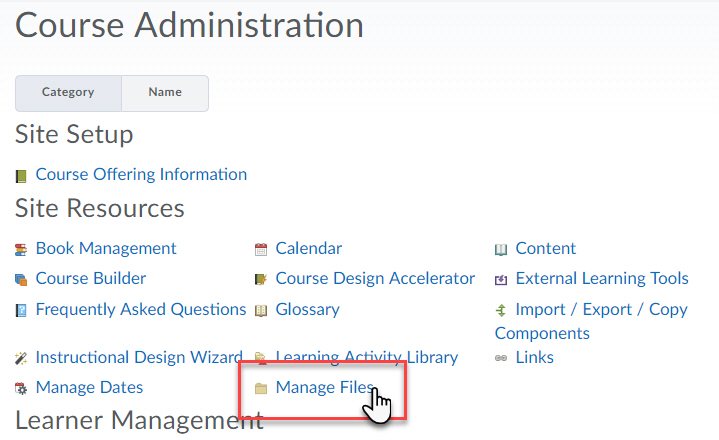
Go to Course tools > Course Admin

Next, click on Manage Files
To keep things as neat and tidy as possible, create a folder to house your html package in. To do this, click New folder

Name the folder, then click Save

Go into your new folder

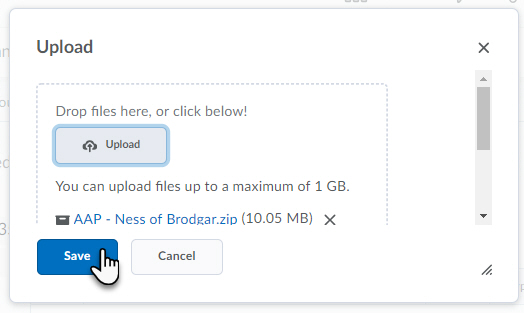
And click on Upload to add your html content

After clicking Upload you will be given a window to select your files, then click Save
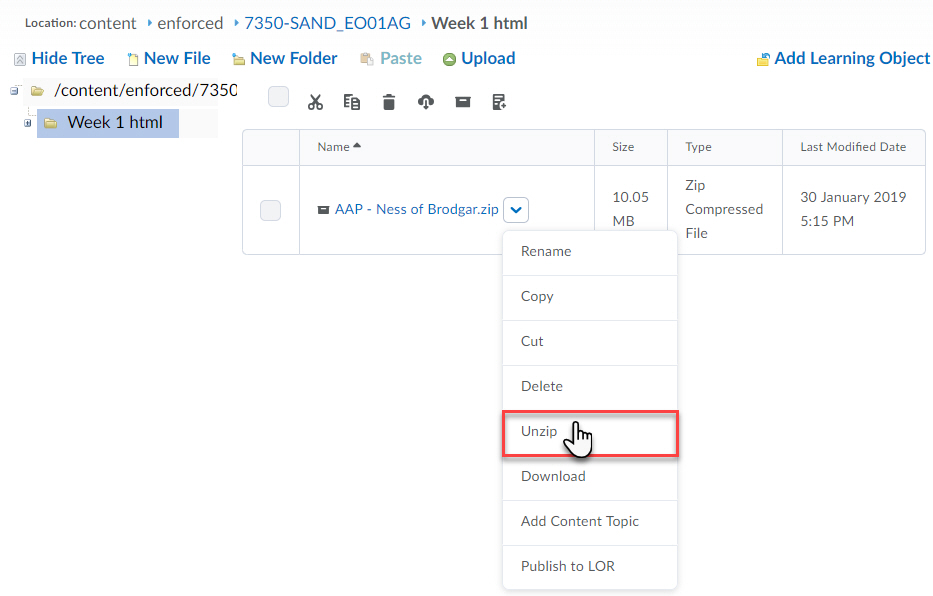
Now that your zip package is in Brightspace you need to unzip it, to do this, use the dropdown list to navigate to Unzip
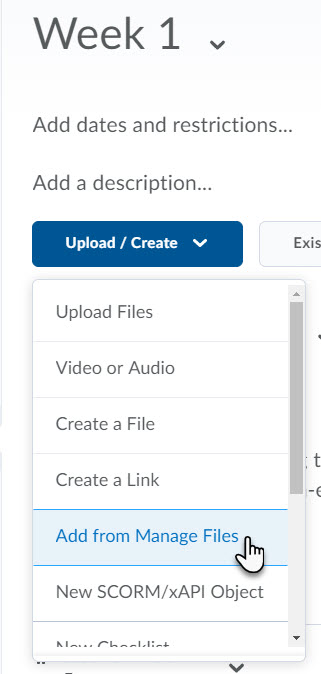
Creating an item from Manage Files
The first step is to navigate to the content module (e.g. Learning resources > Week 1) that you want to place your link in. From within that content module, select Add from Manage Files from the Upload/Create menu (opposite).
Clicking on Add from Manage Files brings up the Add a File screen. Navigate to the right folder.
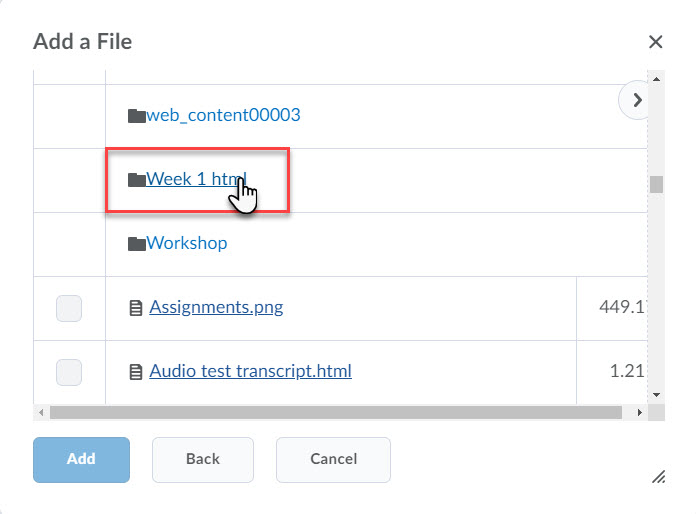
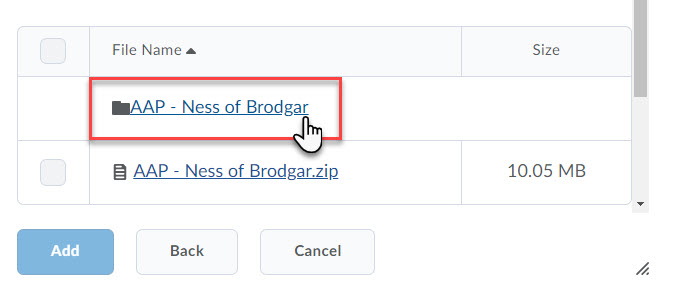
Within that folder, locate your unzipped html resource.
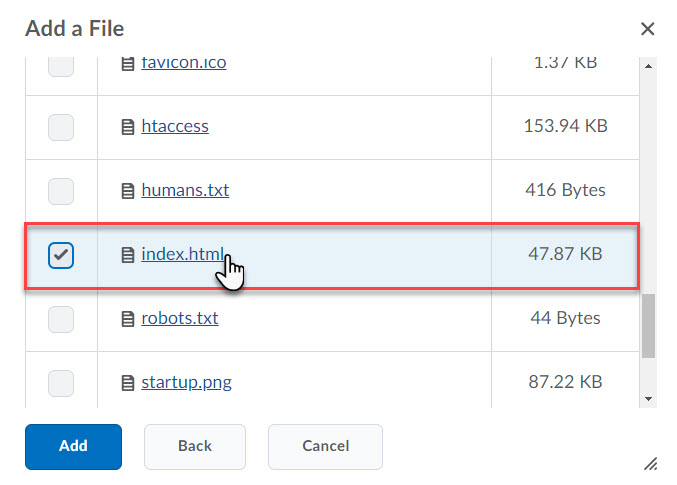
And finally, within the unzipped folder locate the index.html file. Put a check in the box to the left of the index file and click Add.
Back in Contents (e.g. Learning resources > week 1) you will see an item has been added to you list of materials; however, this item is a rather blank looking 'Index' (opposite).

There are several things you can do to increase the visibility of your link (many of which are covered in the final section of this RLO: 'The completed link'). At a minimum, let's change the title. To do this, click on the word Index.
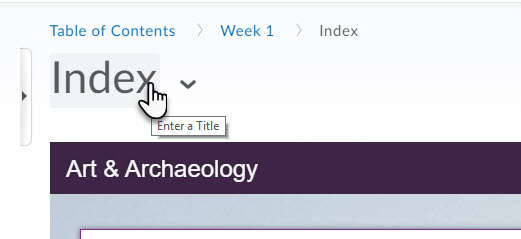
Next, type alternative text e.g. 'Ring of Brodgar tour', then hit enter.

Important Note:
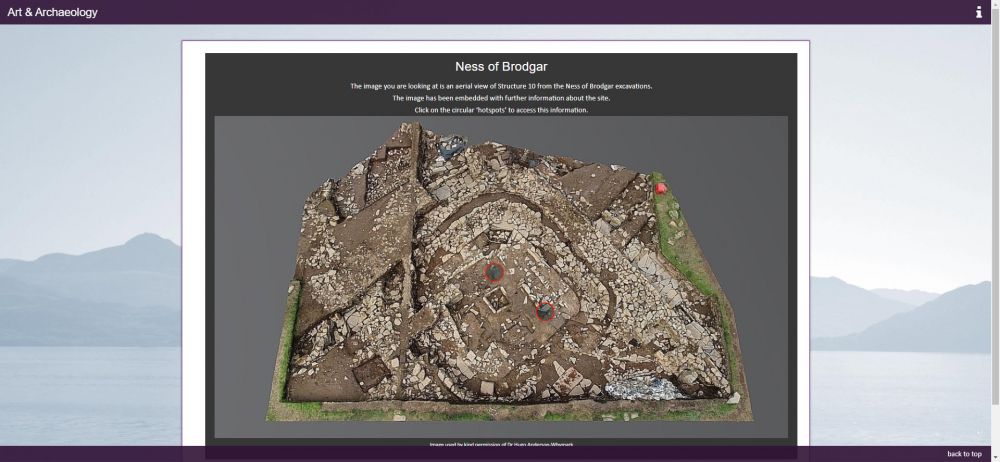
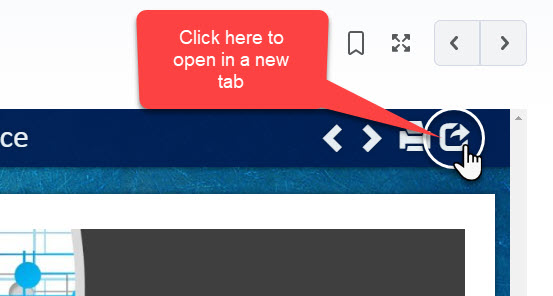
The process for uploading html resources created with Forge to Brightspace is exactly the same as the process outlined above; however, when it comes to opening resources in new windows Forge outputs have an additional 'Open in tab' button at the top right of the screen (opposite).
Import Forge HTML5 resources into Brightspace
The completed link
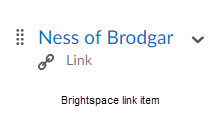
After clicking Create in the previous step, the result is a simple textual link (opposite).
Because, at this point, you only have a clickable heading with no other information, our advice would be to take the opportunity to:
- change the title to something more meaningful;
- add some descriptive text, and;
- consider adding an image to draw attention/brighten up the page.
To do this, follow these steps:
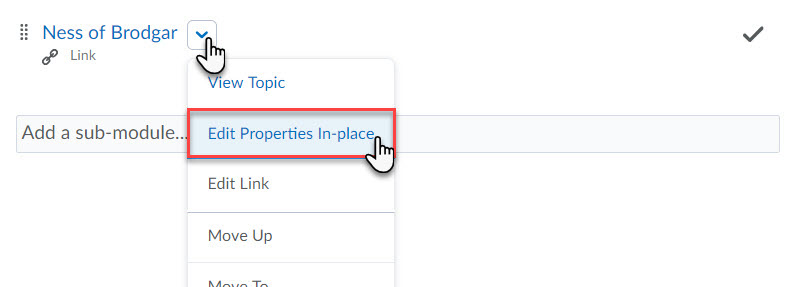
Using the dropdown list to the right of the clickable Ness of Brodgar heading select Edit Properties In-place
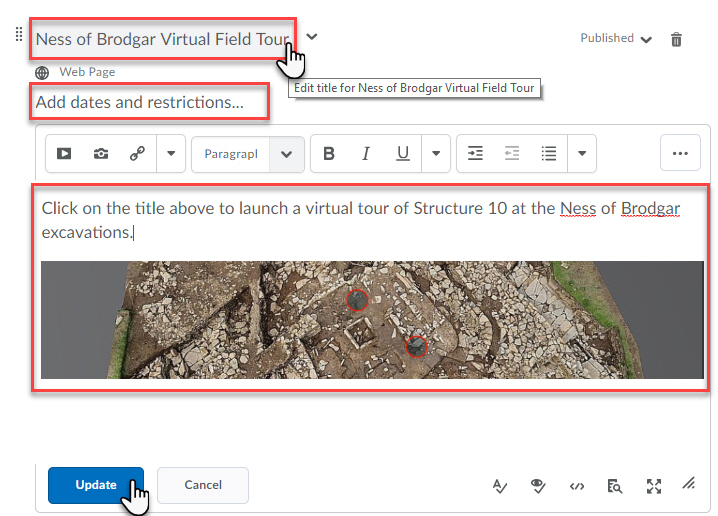
From the Edit Properties In-Place screen you can edit various areas (click on an area to edit)

Here’s an example of what could be added (click Update to save changes)
As before, double-check how it will look for your students. To do this, click on your username at the top right of the screen and Select View as Student:
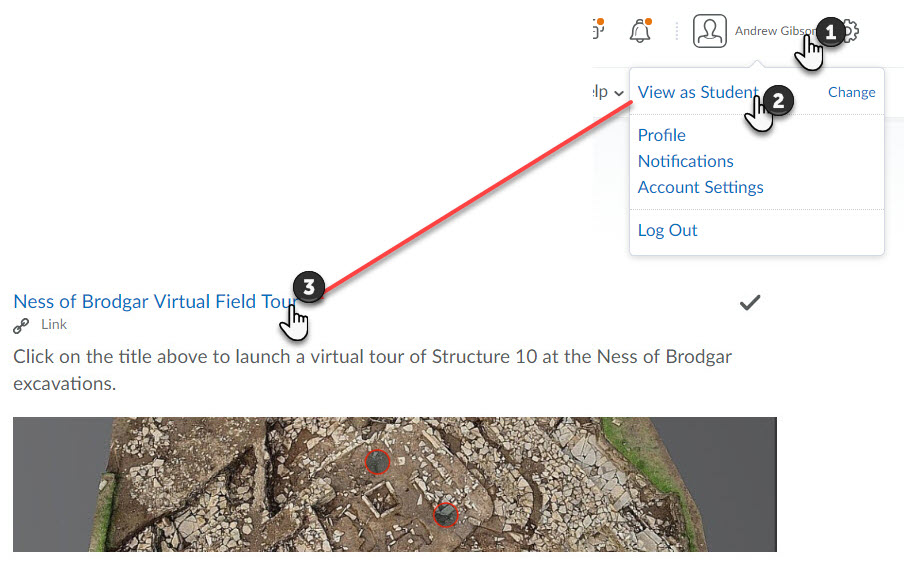
Clicking on the heading opens the resource in its own window (with only one set of navigation).
