
How to successfully get SCORM packages into Brightspace
SCORM itself relates to a set of standards and specifications that allow for communication between user and host system (e.g. Brightspace). At UHI the EDU have produced several resources using Articulate 360, though other SCORM authoring tools, like Adobe Captivate, exist.
If you have SCORM packages that you would like to upload to Brightspace, follow the steps below:
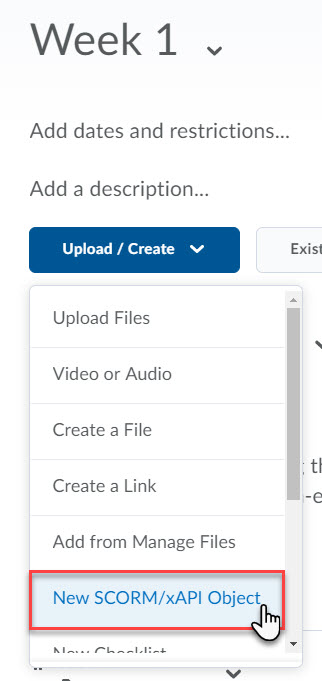
In your Brightspace unit/module, in Content navigate to the content area (e.g. Week 1) where you want to add a link to a SCORM package.
Using the Upload / Create menu, select New SCORM/xAPI Object.
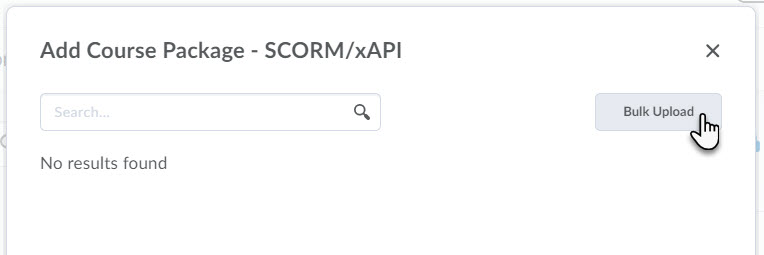
In the Add Course Package popup window click Bulk Upload.
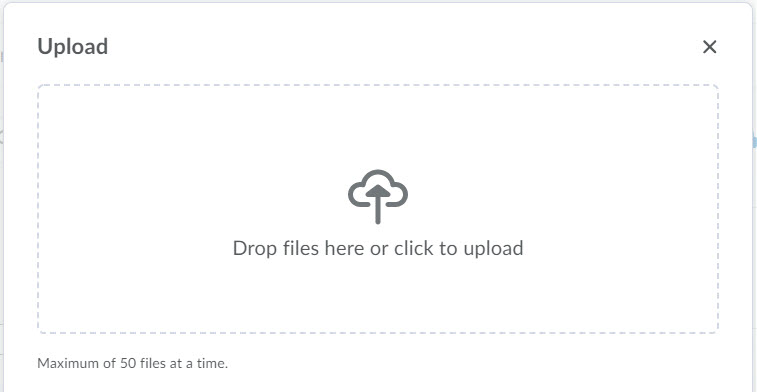
This brings up an Upload window. Either drag and drop your zip files or click to upload.
For demonstration purposes, we will upload three packages (see Step 3).
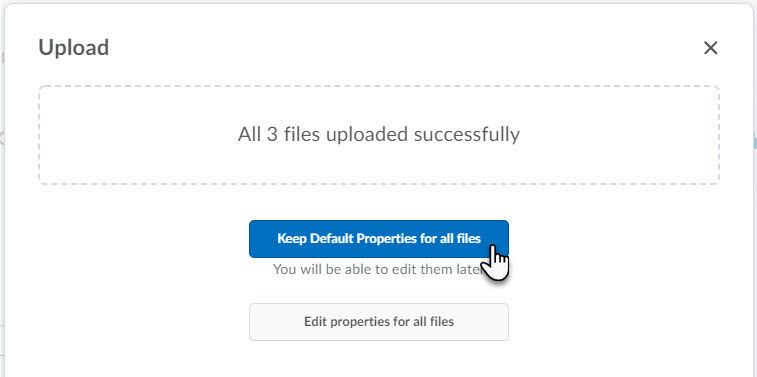
After watching the progress of your uploads, you will be told that your files have been uploaded successfully.
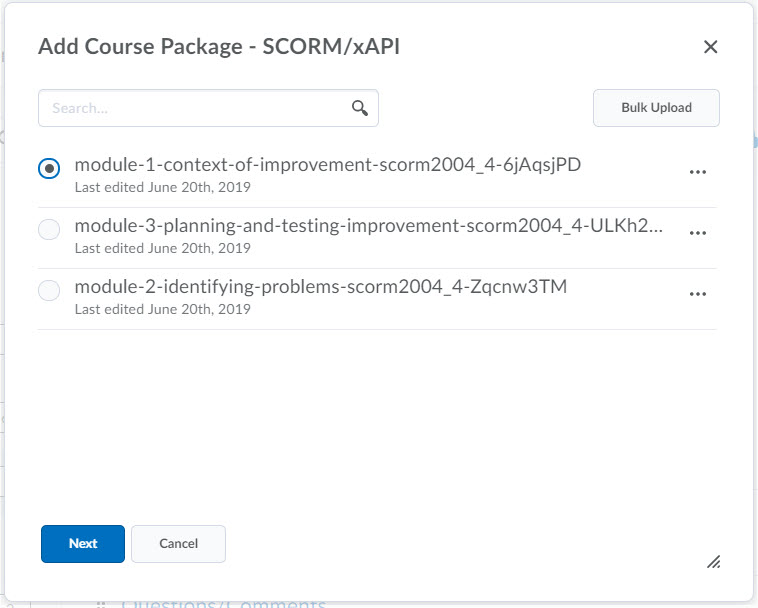
The next screen you see shows you a list of the objects you have uploaded. To add a package to the content area (e.g. Week 1) that you are in, click the circle to the left of the appropriate object, then click Next.
To do so, return to the Upload / Create menu, select New SCORM/xAPI Object and select a different package from the list (which will look like the picture opposite).
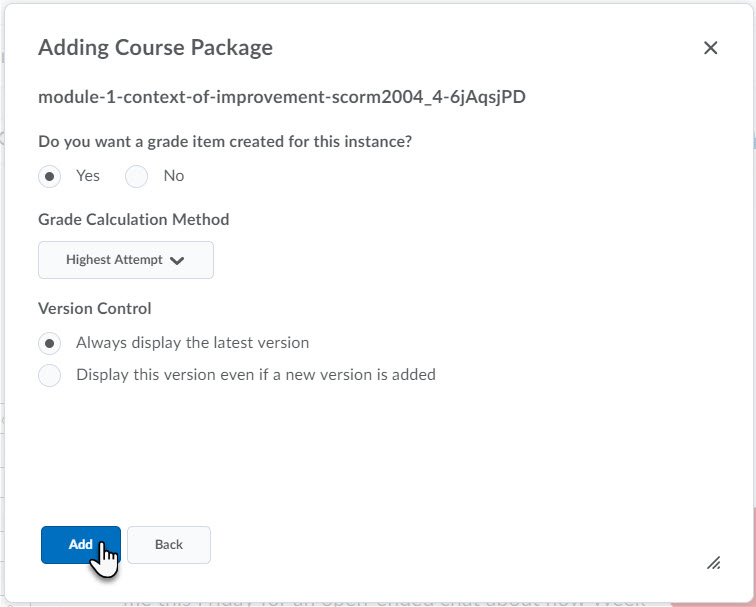
After clicking Next, In the Adding Course Package popup, you are asked to choose if you want a Grade item to be created for your SCORM object and if you wish to always display the latest version.
Once you have made these choices, click Add.
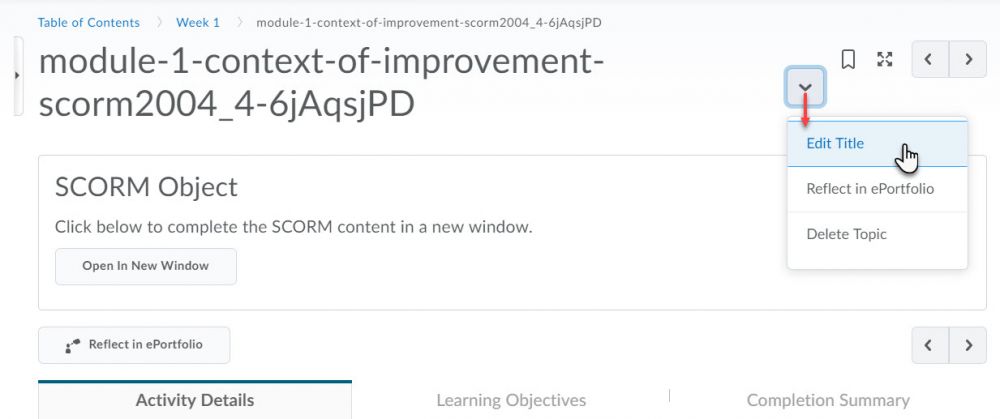
The next step is to neaten up what students will see when they come to access your SCORM package. Initially, the link to the package will bear the full title of the original zip (which in our case was a long and convoluted phrase (opposite)).
Click on the dropdown arrow to the right of the item name and click Edit Title. I changed ours to simply Module 1.
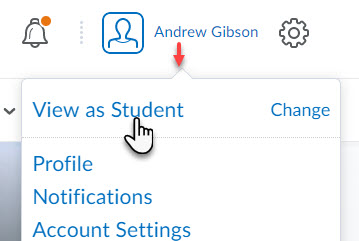
Finally, check that your link works and what it will look like from a student's point of view. To do this, first go to the top right of the screen, click on your name and select View as Student.
Navigate to your new item (it will be listed with a clickable title and be called a Content Object.
