Teams - staff help pages 2024Welcome to the MS Teams Help pages
MS Teams is the university's official virtual classroom tool which is integrated into Brightspace.
In this resource, you will find answers to questions you might have about MS Teams. The resource is organised topically and contains links to specific MS Teams help pages and UHI guidance and policies.
Make sure you have created your MS Teams Channel by clicking on the MS Teams Integration widget in Brightspace (Figure 1 below).
Brightspace MS Teams Integration
This may have already been done by a colleague. In this case, the course title will appear in the widget instead of the words 'Create Course Team'.
 Figure 1: MS Teams Integration widget in Brightspace
It can take up to 1 hr to create the MS Team Channel
If you have a specific question that is not answered in this staff guidance or FAQs - MS Teams Collaboration in the VLE (sharepoint.com)
please submit your question through a Unidesk ticket and ITDI colleagues will respond.
About using this resource
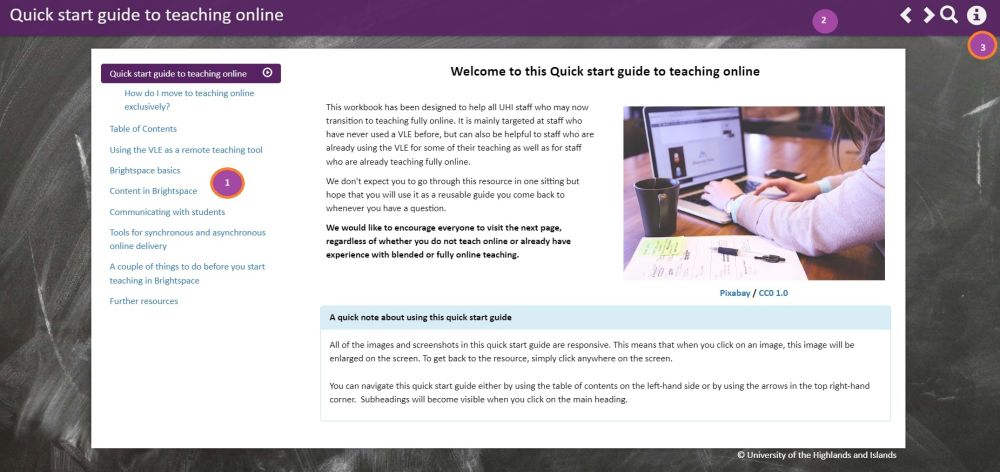
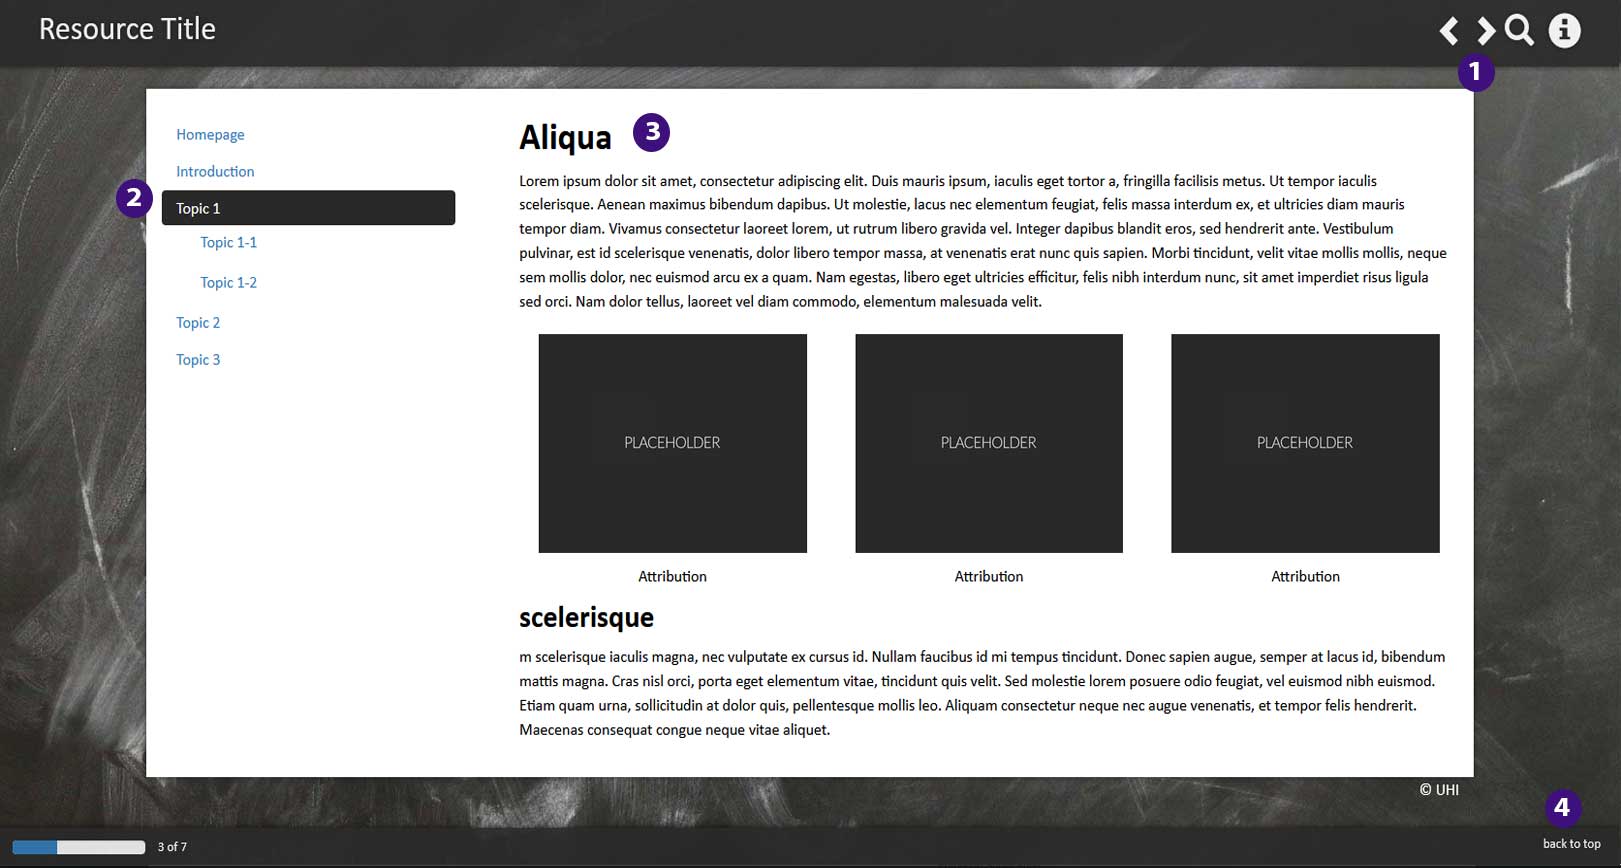
The screenshot below and any other images in this resource are responsive. This means that when you click on an image, this image will be enlarged on the screen which is especially useful for screenshots included in this guide. To get back to the resource, simply click anywhere on the screen.
How to navigate the resource:
-
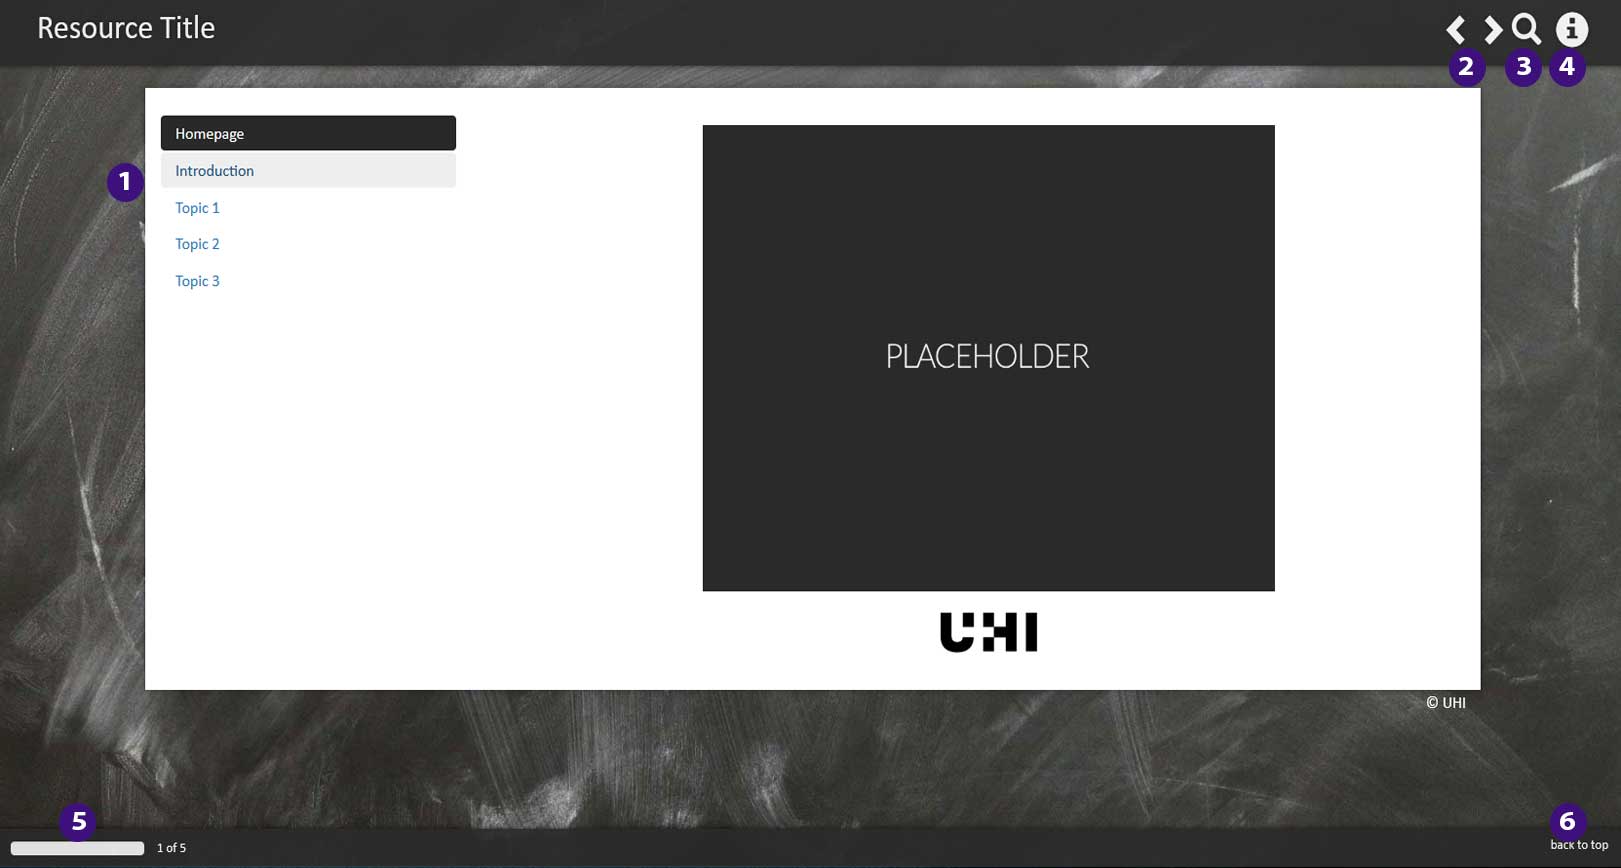
Use the menu on the left-hand side to jump to a particular page (1), or
-
Use the arrows in the top right-hand side corner of the resource to navigate to the next page within the resource (2).
How to print the resource:
- Use the 'i' button in the top right-hand side corner of the resource to print or download the PDF (3).

Figure 1: Screenshot of document made in Forge
Getting started in MS Teams
MS Teams is the university's official virtual classroom tool which is integrated into Brightspace.
On the following pages, you will find more information on scheduling, sign-posting and running MS Teams sessions.
.png?1597152132362)
MS Teams is a video collaboration tool, continue to use Brightspace for all other unit/module support and materials. Communicate with students through discussion boards and emails -these are provided for official communication as this requires an audit trail. Chat in MS Teams is not an official form of communication and students and staff should be directed, and redirected if necessary, to use discussion boards and email where appropriate (Chat is deleted at present after 3 months).
For the best experience use the MS Teams app.
You have access to MS Teams features in a menu bar at the bottom of the screen (Figure 1 below)
![]()
Figure 1: MS Teams features menu bar
Use meeting controls in Microsoft Teams (see Desktop and Mobile tabs at the top of this information)
Chat: Chat with the other participants in the MS Teams session. Clicking on this button opens up a window on the right hand side and a box and the bottom to type into - ' Type a message' . Chat is not for formal communication with the lecturer, nor is MS Teams. Use the formal communication highlighted by your lecturer which will include discussions boards and email . Please note Chat is not recorded.
People: When you click on this you will see other participants in the MS Teams session on the right hand side 'Participants'.
Raise : Raise your hand in a meeting.
React : Send a reaction in a meeting. When you click on this button there is a selection to choose from. This includes, thumbs up, heart, clapping hands, smiling emoji, shocked emoji.
View: Change your view. There are a number of options when you click on 'View'
Rooms: this is a feature for create breakout rooms
Apps: add an app - your lecturer may use some of these in your sessions such as Polls or Whiteboard
More: this offers a number of options with regards to settings etc.
Camera: Switch your webcam on or off. Webcam is off when the button has a line though it and on when the button does not have a line though it. This is done by clicking on the icon and there is also a drop down menu. You may wish to blur your background or choose another type of background.
Microphone: By clicking on the icon you may mute yourself when you are not speaking (button has a line through it; unmute yourself when you are speaking (button has no line). There is also a drop down menu to check settings and make adjustments.
Share button: share content (screen) and note toggle to include sound. You will need to enable sharing for students if you wish them, to share their screen.
Leave button: Leave the MS Teams session.
Scheduling and sign-posting MS Teams sessions
MS Teams is the university's official virtual classroom tool which is integrated into Brightspace.
Virtual classroom sessions should be scheduled via the MS Teams Integration widget in Brightspace as this generates a Join link.
- If students ask you how to join, please sign-post them to the MS Teams widget in Brightspace (Figure 2) and/or the help pages for students (Brightspace-MS Teams Integration) where they will find detailed information on accessing MS Teams sessions.

Figure 2: MS Teams Integration widget in Brightspace for students
Schedule a meeting: from your General MS Teams Channel click on the video camera icon at the top right corner and select 'Schedule a meeting' (Figure 3) (Brightspace-MS Teams Integration).
Signposting : Lecturers have the option to add details (e.g. dates and time) of virtual classroom sessions to a unit/module timetable, to the unit/module course schedule in Brightspace or within an announcement
It is highly recommended that students and staff join all MS Teams sessions via the MS Teams widget in Brightspace.
This will ensure both lecturers and students engage with support, guidance and information available within the unit/module spaces in Brightspace.

Figure 3: How to schedule a meeting
Running a MS Teams Session via Brightspace
Log on to Brightspace, click on the via the MS Teams widget (Figure 3 below)
Once you have joined a MS Teams session this way, you will also be able to join further sessions in the future via the Join Meeting link in the appointment that will automatically be created in your unit or module Channel and in the MS Teams calendar (Figure 4).
When a lecturer creates a virtual classroom session in the unit/module MS Teams Channel in Brightspace these appointments are automatically created for all enrolled in the unit/module.
For students it is critical they join via Brightspace so as to ensure they engage with the support and materials provided within Brightspace.

Figure 3: MS Teams Integration widget

Figure 4: MS Teams calendar (click on this image to enlarge)
When scheduling a meeting you may wish to review the meeting options.
Scroll down within the invite to Meeting options or Select your Virtual Classroom Session from the MS Teams Calendar. Select Meetings options
![]()
There are 5 options - 'security', 'audio and video', 'engagement', 'roles' and 'recording and transcript' .

There are applied defaults which can be modified if required:
Security: Who can bypass the lobby? the existing default setting is 'People in my org and guests'
Audio and video: For all attendees mic and camera are selected YES
Engagement: Meeting chat is ON, allow reactions and allow attendance report
Roles: Co-organiser, presenter and attendee. Co-organiser and presenters share most permissions. Those attending the meeting will only be able to present if they are made presenters- this is not a default setting.
Recording and transcript : Recording and stopped by the organiser and co-organiser
Yes, you can share audio or video with audio in a MS Teams session.
When you click on 'Share' content you have the choice to share content and include sound:

Figure 6 : Options when you click on Share
For information consult Teaching in MS Teams .
This provides an outline and more details of the key features in MS Teams which you may choose to use within the video collaboration.
The maximum number of students that can be accommodated on the screen at any one time is 49.
How you 'view ' participants can be varied by you.
To modify click View on the top navigation bar which will open a drop down menu (Figure 5).

Figure 5: Options displayed in View drop down menu
Using breakout sessions in MS Teams
Breakout rooms can be created before or during your virtual classroom session.
.png?1597152132362)
Consult:
MS Teams specific guidance on Use breakout rooms in Microsoft Teams meetings.
Recording To allow participants to talk freely, do not record break out rooms as any feedback will be captured in the main meeting channel recording.
Breakout sessions MS Teams
.png?1597152132362)
Great resource:
Linkedin is a great resource, available to both staff and students at UHI. You'll find it on a tile in MyDay. We have added some videos below on how to create breakout room

You can create rooms ahead of your meeting or during your meeting.
There are useful videos in LinkedIn to get you started, highlighting why breakout rooms are useful for you and your students, and how to set them up.
The video embedded below, 4min 58 secs, highlights how to create breakout rooms ahead of your MS Teams session and during your session.
Figure 7: Use breakout rooms from Microsoft Teams Essential Training by Nick Brazzi
This video embedded below 2 mins 46 secs is all about creating rooms when you are in a session.
Figure 8: Create breakout rooms from Microsoft Teams: Successful Meetings, Webinars and Events by Gini von Courter
Recording and transcription in MS Teams session
On this page you will find more information about recording MS Teams virtual classroom sessions.
For full instructions and policy please review : Recording of taught sessions policy: instructions
.png?1597152132362)
Just as a reminder:
If you are recording taught sessions, every two weeks from the start of each Semester until you cease recording, you must log in to your class list in UHI Records and check the entire list. Objections are indicated by a red video camera icon with a slash through it.![]()
The class list report displays 10 students on the first page. You can sort the objection column to group all students who have objected at the top of the list. Click “Objected to being recorded” to sort the list from highest to lowest, you will have to click twice as it displays lowest to highest on the first click
Key messages from the recording policy and instructions for lecturers
There are 3 purposes-change
Purpose 1:
Recording of taught sessions as specified in Personal Learning Support Plans (PLSP)
Purpose 2:
Recording of taught sessions for educational purposes by UHI
Purpose 3:
Recording of taught sessions to make a reusable learning object
The instructions to guide lecturers, are written in Frequently Asked Question (FAQ) format
For example :
Do I have to record taught sessions?Only:
- if there is a student in the session who has recording specified as a reasonable adjustment in their Personal Learning Support Plan (PLSP) or
- recording is specified in your employment contract.
Please note the University partnership’s position is that taught sessions should be recorded to allow students to view recordings to enhance their educational experience and overcome access problems due to work commitments, caring responsibilities, or ill health.
Only lecturers or co-hosts may record sessions. For GDPR reasons, do not use the “automatically record sessions” feature. Prior to the session being recorded you must tell students that the session is being recorded and you must put a link to the Privacy notice – Recording of taught sessions in the chat. Once you have done that, you may start the recording.
You may wish to add a PowerPoint slide :
Slide title: This session will be recorded
This session is being recorded for educational purposes.
- The link to the Privacy Notice, recording of taught sessions will be posted in this session’s chat.
- You (students, staff, visitors) must comply with the Recording of taught sessions policy.
- Privacy notice, recording of taught sessions link: Brightspace, click Help.
- Recording of taught sessions policy link: Brightspace, click Help, click Compliance Statement.
- Failure to comply with the Recording of taught sessions policy is a disciplinary offence and could be subject to legal action.
When scheduling a new meeting in MS Teams the default is no automatic recording with transcription of a meeting. In ‘More options’ (in blue hypertext right hand menu) you can set security, audio and video, engagements, roles, recording and transcription.
Once the meeting has started and you have displayed the Privacy notice – Recording of taught sessions in the chat, select More actions, Record and transcribe, Start recording. This will start the recording and the transcription: Record a meeting in Microsoft Teams - Microsoft Support
Note: if no-one has objected, to ensure students have the best educational experience, please ask them to turn on their cameras. Remind them that if they don’t want people to see their background, they can blur it or replace it with an MS Teams background or an image: Change your background in Microsoft Teams meetings.
Note: Chat is not recorded.
Students should go to their unit or module in Brightspace and click on the widget to access Teams. They should ensure they are in the appropriate General Channel and click on “See details” (Figure 9).
.png?1723125156565)
Figure 9: MS Teams General Channel
Students should go to their unit or module in Brightspace and click on the widget to access Teams. They should ensure they are on the appropriate Channel (General in most cases) and click on “See details”. Recordings and transcriptions are accessed there.
The transcription is automatically anonymised. The person speaking when the recording starts is identified as Speaker 1 and thereafter speakers are labelled as Speaker 2,3 and so on. For ease of review of the transcript lecturers who lead the session should identify themselves to students as Speaker 1 or if there is a guest lecturer for example they may be 'Speaker 2'.
If you feel students would benefit from the session being recorded, you may give written permission provided:
1. No student participating in the session has formally objected to being recorded.
2. Recording won’t hamper the discussions.
3. All students are told the session will be recorded and are given the privacy notice at least two weeks before the session, giving them the time to object should they wish to do so.
If you give students written permission, you must inform them that they must:
1. read and adhere to the conditions in the Recording of taught sessions policy, specifically 11.2.2 Recording by students and use of taught session recordings;
2. display the Privacy notice – recording of taught sessions at the start of each recorded session.
3. submit the recording to you.
4. delete the recording from any personal device or cloud storage, including their UHI One Drive.
Recordings are subject to UHI’s retention policy. Put the recording in the appropriate university space and make it accessible to students.
Please let students know that failure to comply with the policy is a disciplinary offence and could be subject to legal action.
How can I review attendance of students at virtual classroom sessions?
Consult: Manage meeting attendance reports in Microsoft Teams - Microsoft Support
.png?1597152132362)
Just as a reminder:
During the meeting you can select the People icon in the top navigation bar and this will provide you with a list of people who have joined and people who have not joined the meeting.
After the meeting Organisers can review attendance by opening Teams, going to the Calendar, opening the meeting, and selecting the Attendance tab. For recurring meetings, select the required report from the dropdown list.
Troubleshooting
If you have any issues or questions which are not answered in this resource, please visit the UHI ITDI Resource pages in SharePoint - Adoption of MS Teams Collaboration in the VLE (Brightspace).
If you cannot resolve your issue with these resources, please raise a Unidesk ticket.


